Introduction: Why You’ll Love These Homemade Reeses Cups
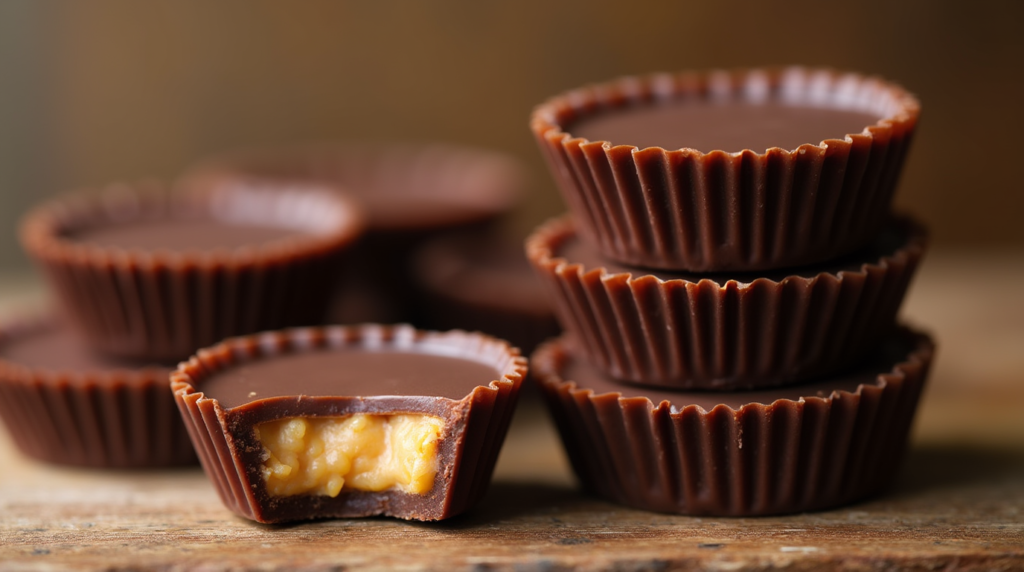
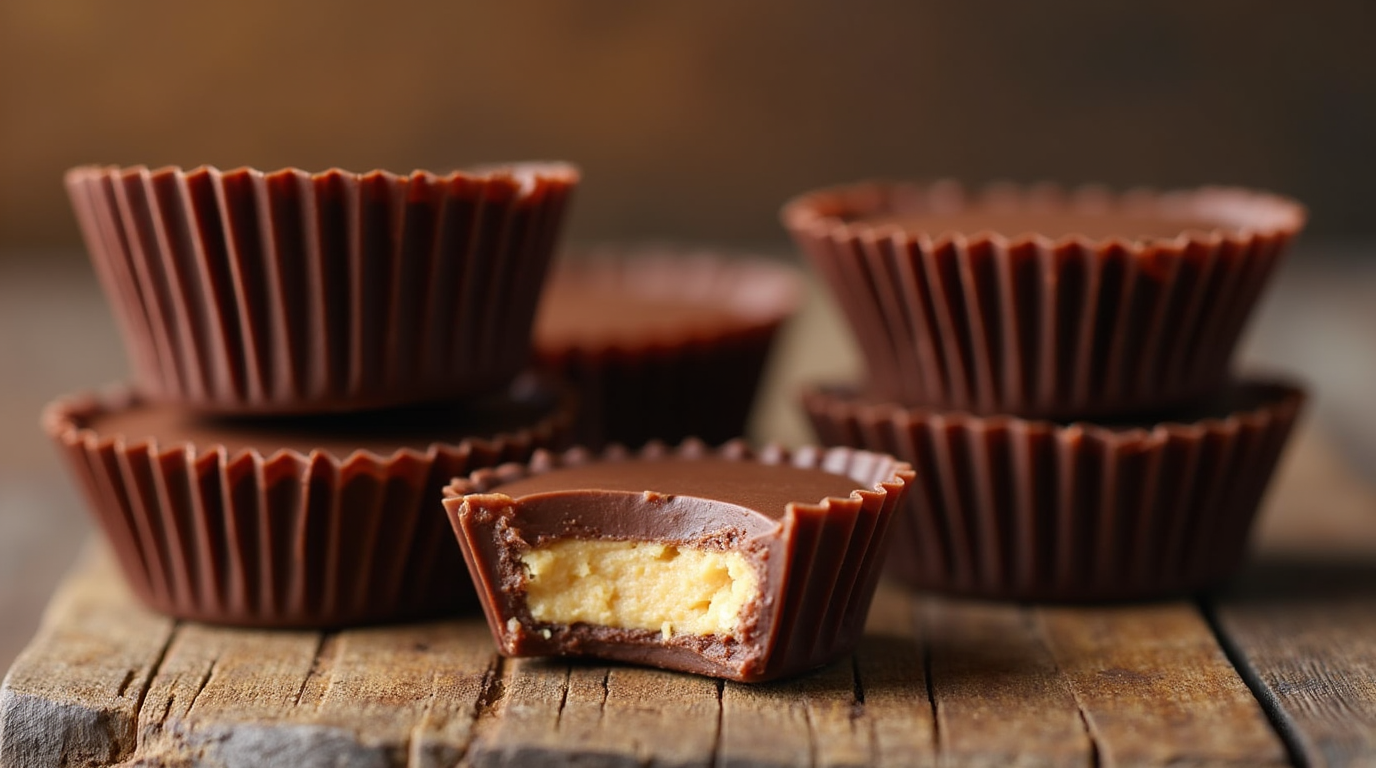
Have you ever craved that perfect balance of creamy peanut butter and rich chocolate, only to be disappointed by store-bought candies filled with preservatives and artificial flavors? Imagine biting into a homemade Reese’s Cup, where the chocolate melts in your mouth, revealing a smooth, sweet peanut butter filling that you crafted with your own hands. The best part? You control the ingredients, making them healthier, tastier, and entirely customizable.
In this guide, you’ll learn how to make homemade Reese’s cups that rival (and even surpass) the classic version. Whether you want to create a healthier treat, experiment with flavors, or simply indulge in a fun, easy recipe, this step-by-step tutorial will walk you through the entire process.
Table of Contents

Ingredients & Tools You’ll Need
Simple Pantry Staples
To make the perfect homemade Reese’s Cups, you only need a handful of simple ingredients:
| Ingredient | Quantity |
|---|---|
| Semi-sweet chocolate chips | 2 cups |
| Peanut butter (creamy) | 1 cup |
| Powdered sugar | ½ cup |
| Butter (melted) | ¼ cup |
| Vanilla extract | 1 tsp |
| Sea salt (optional) | Pinch |
Essential Kitchen Tools
- Muffin tin (regular or mini)
- Cupcake liners
- Microwave-safe bowl or double boiler
- Mixing bowls & spatula
With these ingredients and tools ready, you’re set to create the most indulgent peanut butter cups from scratch!
Step-by-Step Guide to Making Homemade Reese’s Cups
Step 1 – Melt the Chocolate
- Use a microwave-safe bowl or a double boiler to melt the chocolate chips.
- Heat in 30-second intervals, stirring between each to prevent burning.
- Stir until the chocolate is completely smooth and glossy.
Step 2 – Make the Peanut Butter Filling
- In a separate bowl, mix peanut butter, powdered sugar, melted butter, and vanilla extract.
- Stir until fully combined and smooth.
- Adjust sweetness to your preference by adding a bit more powdered sugar if needed.
Step 3 – Assemble the Cups
- Line your muffin tin with cupcake liners.
- Spoon about 1 teaspoon of melted chocolate into the bottom of each liner.
- Gently place a small scoop of the peanut butter mixture in the center.
- Pour another layer of melted chocolate over the peanut butter filling.
- Lightly tap the tray to remove any air bubbles and smooth out the tops.
Step 4 – Chill and Enjoy!
- Refrigerate the peanut butter cups for at least 30 minutes or until fully set.
- Once firm, remove from the liners and enjoy your homemade masterpiece!
Tips & Variations for the Best Reese’s Cups
Make It Healthier
- Swap regular chocolate for dark chocolate to boost antioxidants.
- Use natural peanut butter with no added sugar or oils.
- Choose a sugar-free sweetener for a lower-carb alternative.
Fun Flavor Twists
- Crunchy Texture: Add crushed pretzels or chopped nuts.
- Spicy Kick: Mix a pinch of cayenne pepper into the peanut butter.
- Salted Caramel: Drizzle homemade caramel inside before sealing with chocolate.
- Different Nut Butters: Try almond or cashew butter for a unique twist.
Storing & Freezing Homemade Reese’s Cups
Storing at Room Temperature vs. Refrigeration
- Store in a sealed container at room temperature for up to one week.
- For a firmer texture, store in the fridge for up to 3 weeks.
Freezing for Long-Term Storage
- Place peanut butter cups in a single layer on a baking sheet.
- Freeze for 1 hour, then transfer to a freezer-safe bag.
- Store for up to 3 months and thaw at room temperature before eating.
FAQ
Can I use natural peanut butter?
Yes! However, natural peanut butter typically has a thinner consistency. Stir well before using and consider chilling the mixture before assembly.
How do I prevent the chocolate from melting too fast?
Adding a teaspoon of coconut oil to the melted chocolate helps stabilize it, making it firmer at room temperature.
Can I make these dairy-free?
Absolutely! Use dairy-free chocolate chips and replace butter with coconut oil.
How can I make my cups perfectly shaped?
For a professional look, use a silicone mold instead of cupcake liners. It creates a smooth, even shape every time.
Can I double the recipe?
Yes! Simply double all ingredients and use two muffin tins to make more cups at once.
Conclusion: Your Perfect Sweet Treat Awaits!
Now that you know how to make homemade Reese’s cups, why settle for store-bought versions? With this simple recipe, you can create delicious, customizable, and healthier peanut butter cups right in your kitchen. Whether you’re making them for yourself, a party, or as a thoughtful homemade gift, these treats are guaranteed to impress.
So, what are you waiting for? Gather your ingredients, get creative, and start making your own irresistible peanut butter cups today!

